¶ Windows
-
Go to https://getsharex.com/ and download the latest version of the program.
-
Install the software by following the prompts.
(Tick 'Run ShareX when Windows starts' and 'Show "Upload with ShareX" button in Windows Explorer context menu')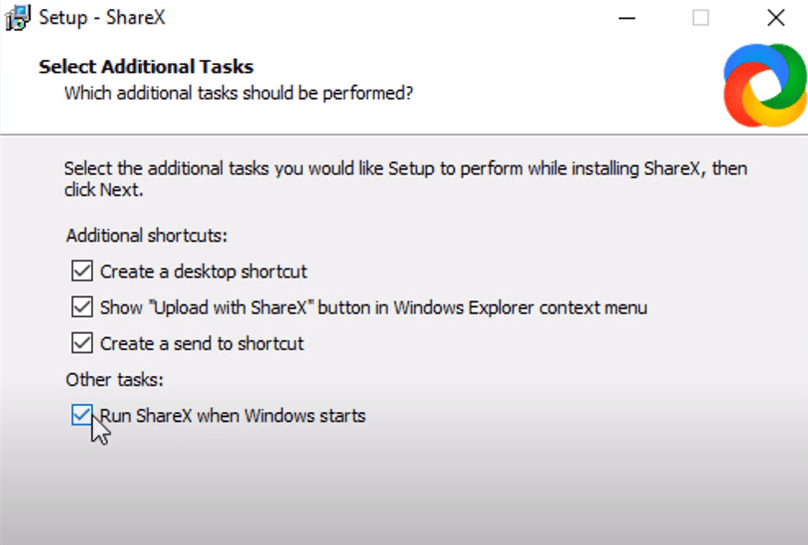
-
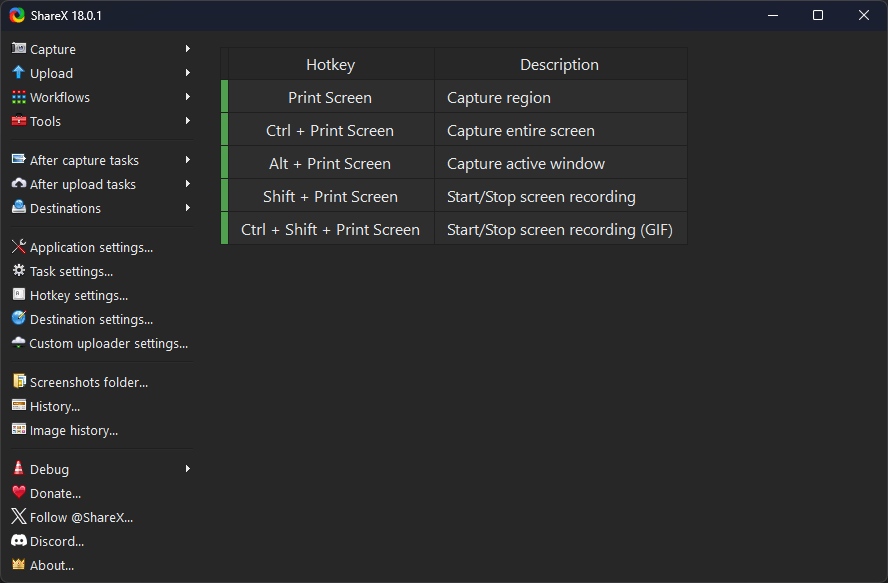
Now, when you open the main window, you will see this
-
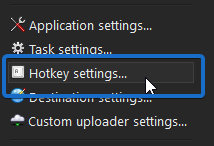
Click on 'Hotkey settings...'
-
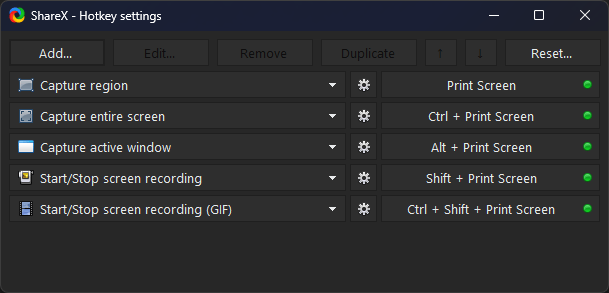
Modify the hotkeys to your preferred setup, our recommended hotkeys are below, though you may wish to disable all except
Capture region(press Escape to disable a hotkey) so you don't accidentally get things you don't want
-
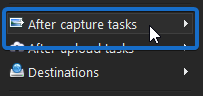
Open the "After capture tasks" menu
-
Make sure these are highlighted:
- Open in image editor
- Copy image to clipboard
- Save image to file (these will save in
C:\Users\[username]\Documents\ShareX)

Now you're ready to take screenshots!
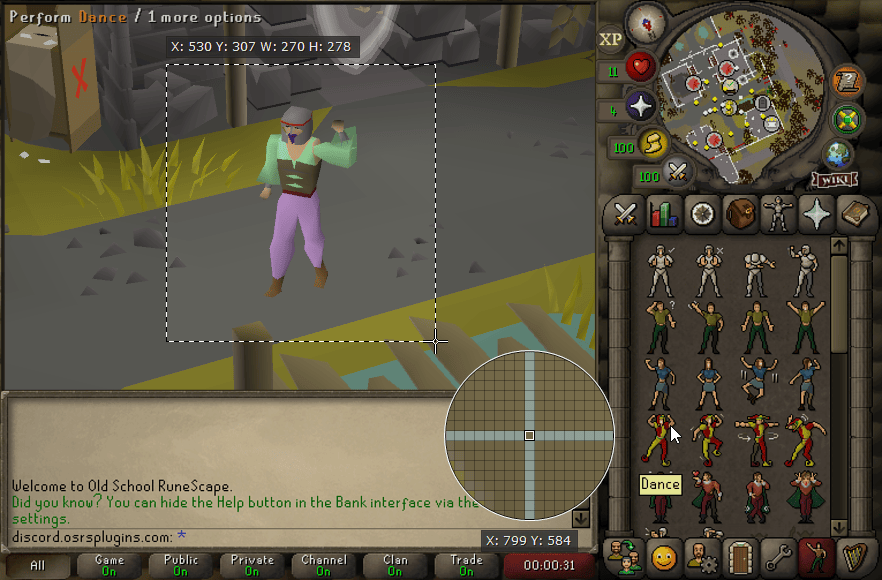
When you press your keybind, you will be able to select the region you want to capture by click & dragging!
Once you make your selection, the image will be opened in the image editor, where you can quickly add text, arrows, highlight, blur, or make any slight adjustments.
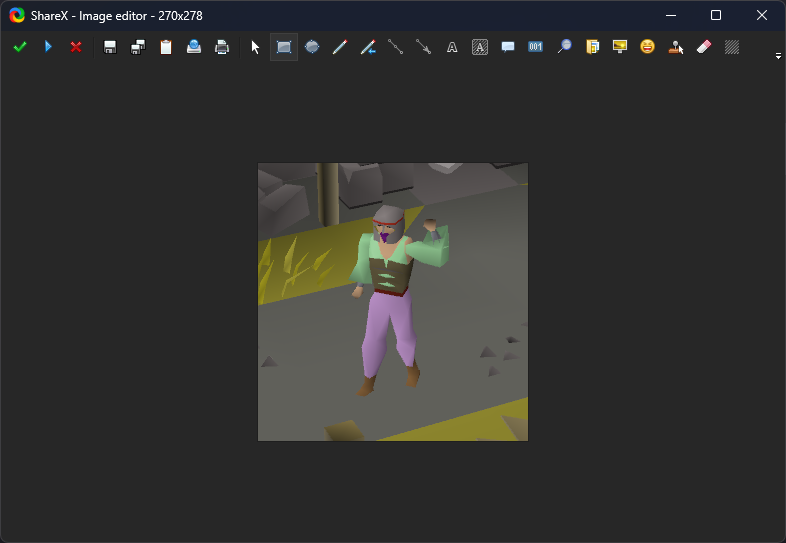
Now press Enter and we are done!
The image is now in your clipboard - you can quickly send it to friends via Discord by pressing Ctrl + V into the chat box! The file is also stored in C:\Users\[username]\Documents\ShareX.
Don't worry - these do not take up much storage space at all, so take as many screenshots as your heart desires!
ShareX also has tons of other cool features, like capturing GIFs, screen recording, uploading straight to image sharing sites with a single click and more! I suggest you play around with it once you get comfortable. It's really awesome!
¶ Mac OS
¶ Images
- Press
⇧+⌘+4(Shift+CMD+4) - Click and drag over the region you wish to capture, or press the spacebar, and click the application you wish to capture
- The screenshot will be saved to your desktop
¶ Videos (10.14 Mojave or later)
- Press
⇧+⌘+5(Shift+CMD+5) to open the Screenshot app - Select the
Record Selected Portionoption as shown below

- Click and drag over the screen region you wish to record
- Under the options menu, ensure you do not have a microphone selected
- Click the record button to start the recording
- To stop recording, press
⌘+⌃+Esc(CMD+Control+Escape) or click the Stop button in the menu bar - The recording will be saved to your desktop
For more information about taking screenshots/video on Mac OS, see Apple's information pages for screenshots and videos